Technical Contents
Engineering Guide: Sheet Metal Bend Allowance

Engineering Insight: Precision in Sheet Metal Bend Allowance Calculation
Accurate bend allowance determination is non-negotiable in high-tolerance sheet metal fabrication. This calculation defines the developed flat length required to achieve a precise bent dimension, directly impacting part fit, assembly integrity, and final product performance. Underestimating or miscalculating bend allowance leads to cumulative errors—especially in multi-bend components—resulting in costly rework, material waste, and project delays. At Wuxi Lead Precision Machinery, we treat bend allowance not as theoretical geometry but as a critical process variable validated through decades of real-world production.
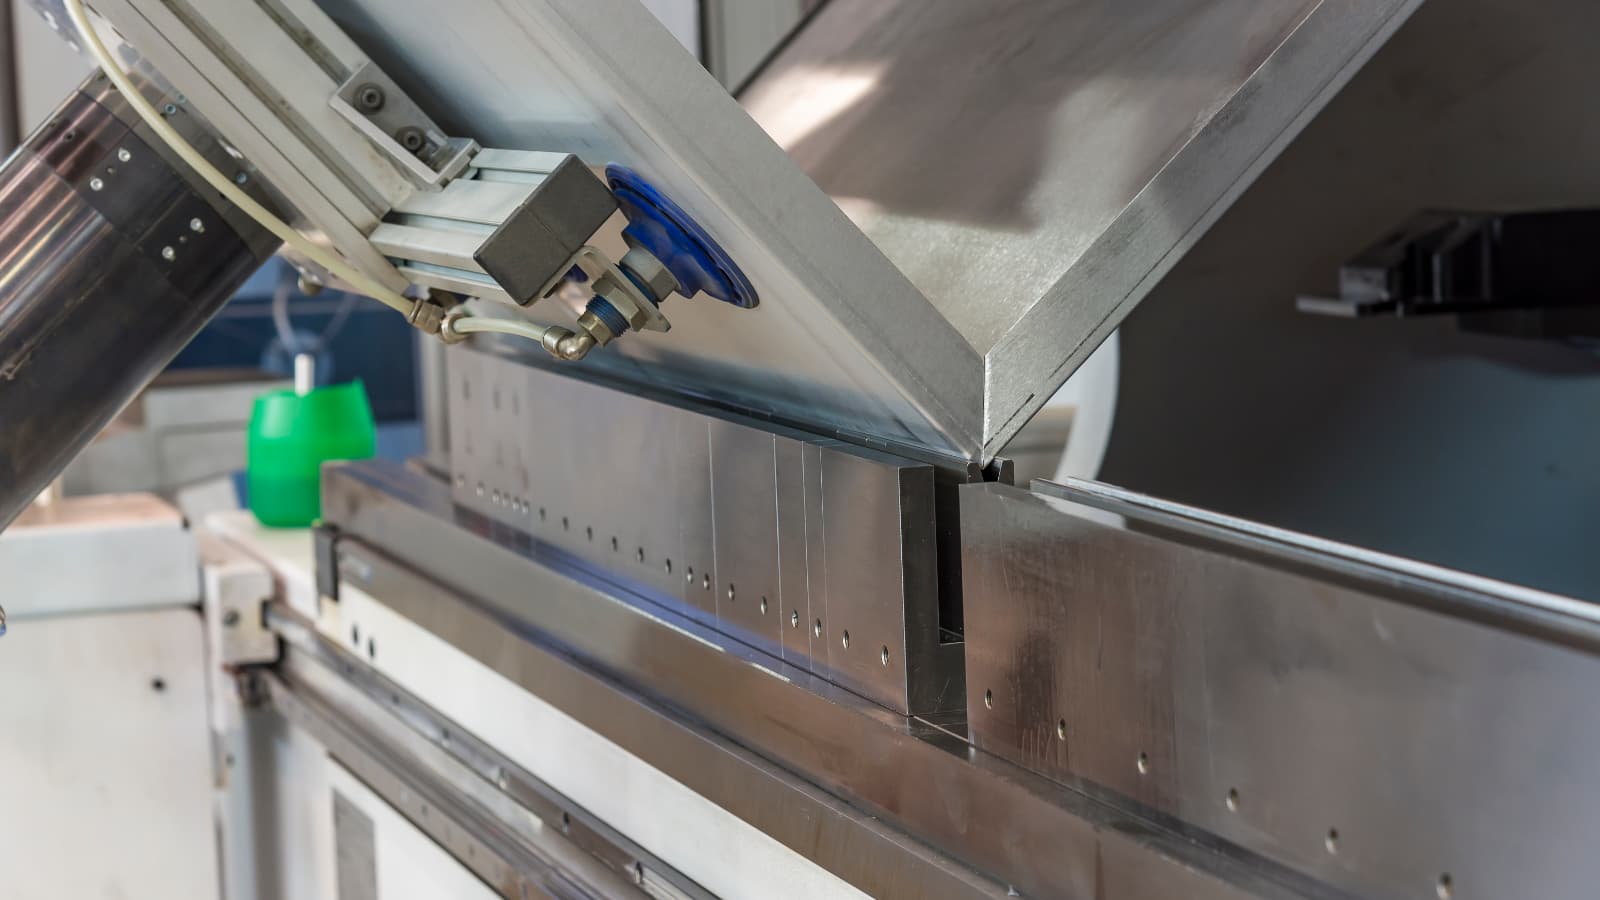
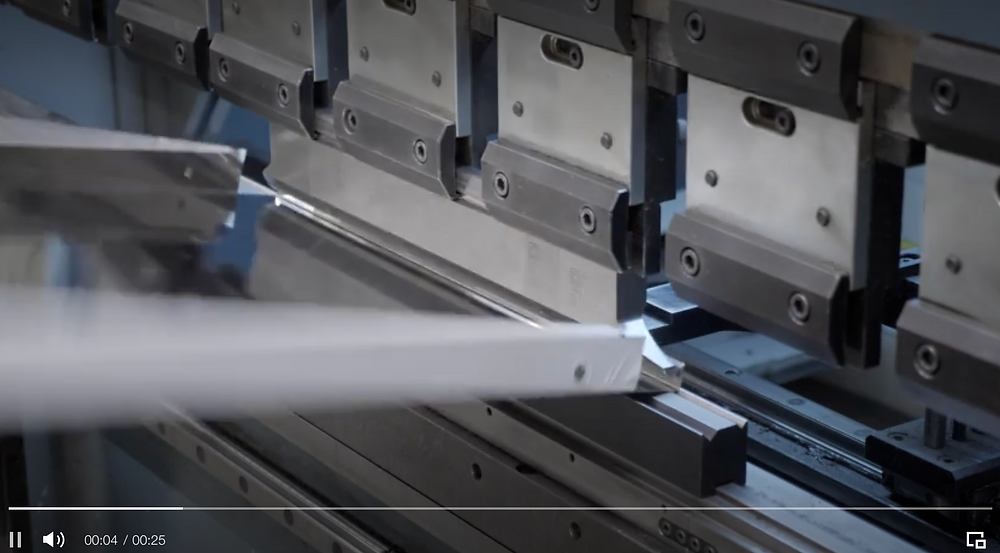
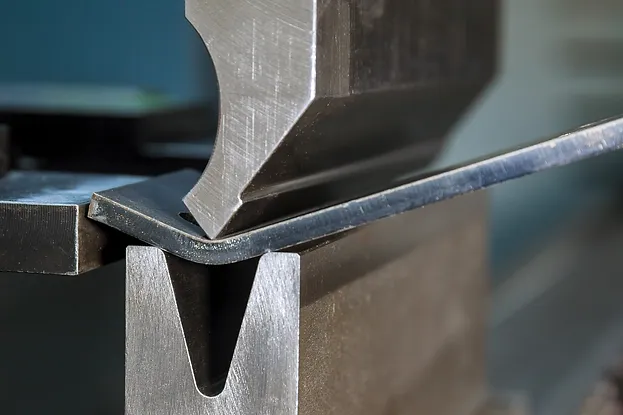
Material behavior during bending introduces complexity. The neutral axis shifts under deformation, influenced by material grade, thickness, grain direction, tooling geometry, and bending method. Standard formulas provide a baseline, but precision demands empirical adjustment for factors like springback and tool wear. For instance, aerospace-grade aluminum alloys exhibit different k-factors than cold-rolled steel under identical bending parameters. Our CNC press brakes integrate real-time sensor feedback to dynamically compensate for these variables, ensuring repeatability within ±0.1mm across production runs.
This rigor stems from our work on mission-critical projects. For Olympic infrastructure components, where structural panels required sub-millimeter alignment across thousands of bends, our team implemented custom bend allowance algorithms validated through iterative prototyping. Similarly, military contract parts—subject to extreme thermal cycling and vibration—demanded springback compensation protocols refined over 200+ material/tooling combinations. Such experience proves that theoretical calculations alone cannot replace process-embedded precision.
Below are key variables affecting bend allowance accuracy in industrial applications:
| Parameter | Impact on Bend Allowance | Industry Standard Tolerance | Lead Precision Validation Method |
|---|---|---|---|
| Material Thickness | Directly alters neutral axis shift | ±0.05mm | Laser micrometer pre-bend verification |
| Bend Angle | Non-linear springback at acute angles | ±0.5° | Post-bend CMM angle measurement |
| Inside Radius | Dictates k-factor selection | ±0.1mm | Tooling wear sensors + adaptive control |
| V-Die Width | Affects material flow and stress distribution | 6-12x material thickness | Dynamic pressure calibration per job |
True precision begins with understanding that bend allowance is a system property, not a static value. It requires synchronizing material science, machine capability, and metrology. At Lead Precision, every bending operation undergoes pre-production simulation using validated material libraries, followed by in-process gauging against first-article inspection reports. This eliminates guesswork—whether fabricating medical device enclosures or satellite mounting brackets.
For high-stakes manufacturing, bend allowance accuracy separates acceptable parts from exceptional ones. It is the foundation of zero-defect assembly in complex sheet metal systems. Partner with an engineering team that treats this calculation as a science, not an approximation. Wuxi Lead Precision Machinery delivers certified precision where tolerances meet reality.
Precision Specs & Tolerances

Wuxi Lead Precision Machinery delivers advanced sheet metal fabrication solutions, engineered for precision, repeatability, and consistency across high-mix, low-volume to high-volume production environments. Our technical capabilities are anchored in state-of-the-art 5-axis CNC bending technology, enabling us to execute complex geometries with exacting accuracy. This level of automation ensures minimal human intervention, reduced setup times, and consistent part quality across batches—critical for industries such as aerospace, medical devices, and industrial automation where dimensional integrity is non-negotiable.
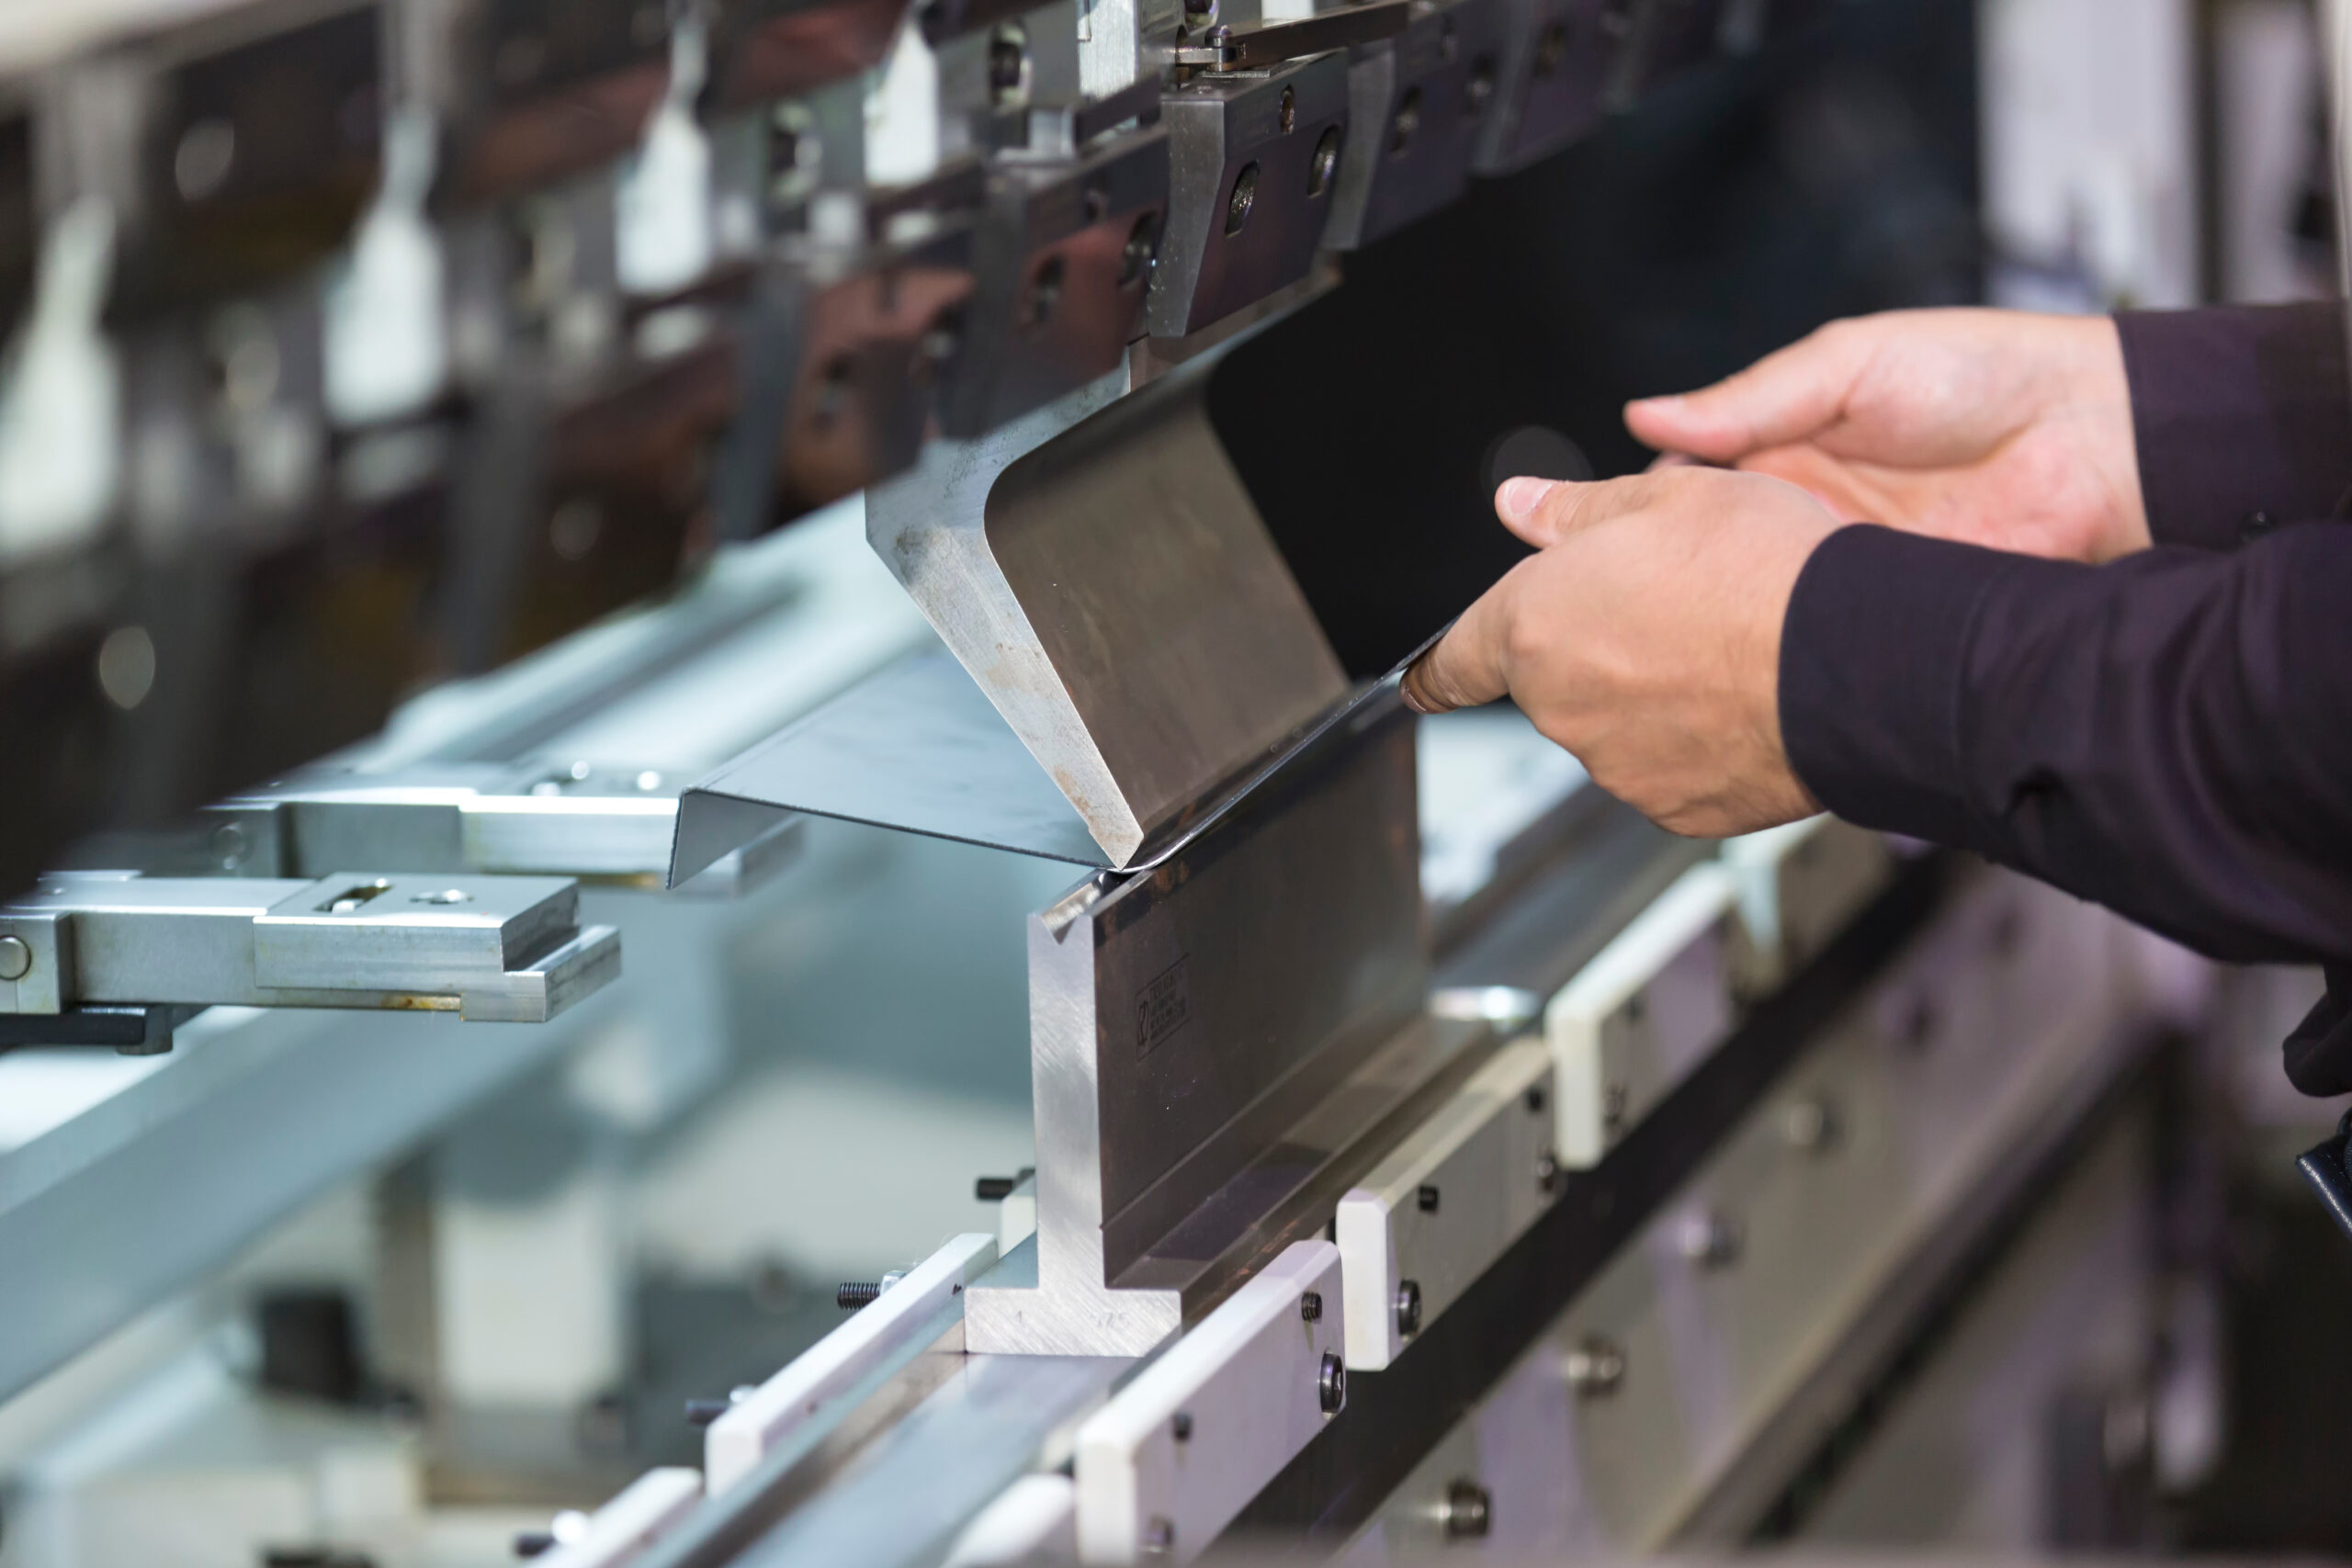
Our 5-axis CNC press brakes integrate synchronized multi-axis motion control, allowing for dynamic repositioning of the part during the bending sequence. This eliminates the need for multiple fixturing setups and supports intricate bending operations on large or asymmetric components. Coupled with offline programming software, we achieve rapid prototyping and seamless transition to full-scale production, reducing lead times while maintaining tight tolerances.
Quality assurance is embedded at every stage of fabrication. All critical dimensions are verified using Coordinate Measuring Machine (CMM) inspection, ensuring compliance with ISO 10360 standards. Our CMM systems provide full 3D measurement validation, detecting deviations down to ±0.005 mm, which is essential for validating bend allowance calculations and final form accuracy. Each inspection report is traceable and available to clients upon request, supporting full documentation for AS9100, ISO 13485, and other regulatory frameworks.
Bend allowance—the material length required to form a bend without stretching or compressing the neutral axis—is calculated using empirical data, material-specific K-factors, and real-time feedback from our CNC systems. We account for variables such as material type, thickness, grain direction, tooling geometry, and tonnage pressure to ensure predictable flat pattern development. Our engineering team performs first-article validation to confirm developed blank sizes, minimizing scrap and rework.
We support a wide range of materials, including cold-rolled steel, stainless steel (304, 316), aluminum (5052, 6061), and galvanized substrates, with thicknesses ranging from 0.5 mm to 6.0 mm. Tooling is selected automatically based on bend radius and force requirements, ensuring optimal contact pressure and surface finish.
The following table outlines our standard bending tolerances under controlled conditions:
| Parameter | Standard Tolerance | High-Precision Capability |
|---|---|---|
| Linear Dimension (mm) | ±0.1 | ±0.05 |
| Bend Angle (°) | ±0.5 | ±0.2 |
| Bend Radius (mm) | ±0.2 | ±0.1 |
| Edge-to-Bend Distance (mm) | ±0.15 | ±0.1 |
| Hole-to-Feature (mm) | ±0.1 | ±0.05 |
| Flatness (mm/m²) | 0.3 | 0.15 |
| Repeatability (Cp/Cpk) | ≥1.33 | ≥1.67 |
All tolerances are validated under stable environmental conditions and confirmed via CMM inspection. Wuxi Lead Precision Machinery combines advanced equipment, rigorous quality protocols, and deep engineering expertise to deliver sheet metal components where bend allowance and form accuracy are precisely controlled.
Material & Finish Options

Material Selection for Precision Sheet Metal Bend Allowance Calculations
Accurate bend allowance determination is fundamentally dependent on material properties. At Wuxi Lead Precision Machinery, our engineering team emphasizes that selecting the correct base material and understanding its interaction with finishing processes like anodizing is non-negotiable for achieving first-pass yield in complex sheet metal fabrication. Material choice directly influences the K-factor, springback behavior, and ultimately, the dimensional integrity of the formed part. Misjudging these properties leads to costly rework, assembly failures, and project delays. We analyze three critical aerospace and industrial materials: Aluminum, Steel, and Titanium, alongside the impact of anodizing.
Aluminum alloys, particularly 5052-H32, are favored for their excellent formability and consistent bend characteristics. This alloy exhibits predictable springback and a stable K-factor across common thickness ranges, making it ideal for intricate bends. Avoid 6061-T6 for tight radii due to its higher tendency for cracking during forming. Cold Rolled Steel (CRS) and 304/316 Stainless Steel require precise control. CRS offers good ductility but demands attention to grain direction; bends perpendicular to the grain minimize cracking risk. Stainless grades exhibit significantly higher springback than aluminum, necessitating larger bend angles during programming and careful K-factor validation. Titanium, while offering exceptional strength-to-weight ratio and corrosion resistance, presents the greatest challenge. Its high yield strength and pronounced springback require specialized tooling, slower bending speeds, and often iterative compensation in the CNC program. Underestimating titanium’s springback is a common cause of dimensional non-conformance.
Anodizing, a critical finish for aluminum parts requiring enhanced corrosion resistance or electrical insulation, introduces a crucial secondary consideration. The anodizing process grows an oxide layer into and outward from the base metal surface. This dimensional change, typically 0.0002 to 0.001 inches per surface depending on thickness, directly impacts tight-tolerance bends and critical interfaces. Bend radii and flange lengths calculated on raw material dimensions will be inaccurate post-anodizing. This must be factored into the initial bend allowance calculation or compensated for in the design phase. Ignoring this effect risks assembly interference or functional failure. Anodizing is generally not applied to steel or titanium in standard sheet fabrication contexts; steel uses plating or painting, while titanium relies on its native oxide or specialized coatings.
Wuxi Lead Precision Machinery integrates material science expertise directly into our CNC programming workflow. Our engineers validate K-factors using actual customer material lots and account for post-processing dimensional shifts like anodizing during the quoting and CAM stage. This proactive approach, combined with our high-precision press brakes featuring real-time springback compensation, ensures your complex sheet metal components meet stringent geometric requirements straight off the machine.
Key Material Properties for Bend Allowance Calculation
| Material | Typical Tensile Strength (MPa) | Common Thickness Range (mm) | K-Factor Range | Anodizing Compatibility |
|---|---|---|---|---|
| Aluminum 5052-H32 | 190 – 225 | 0.5 – 6.0 | 0.33 – 0.40 | Excellent |
| Cold Rolled Steel | 340 – 420 | 0.8 – 3.0 | 0.35 – 0.42 | Not Applicable |
| Stainless 304 | 515 – 690 | 0.5 – 3.0 | 0.40 – 0.48 | Not Applicable |
| Titanium Gr 2 | 345 – 450 | 0.5 – 2.5 | 0.45 – 0.55 | Not Applicable |
Manufacturing Process & QC

Sheet metal bend allowance is a critical parameter in precision fabrication, directly influencing the dimensional accuracy and final fit of formed components. At Wuxi Lead Precision Machinery, we integrate bend allowance calculations seamlessly across the entire production lifecycle—design, prototyping, and mass production—to ensure zero-defect output. Our process begins with precise engineering analysis, where material type, thickness, bend radius, and tooling are evaluated to determine the exact bend allowance. This value represents the length of the neutral axis between the bend lines and ensures that flat pattern layouts yield correct final dimensions after forming.
In the design phase, our engineering team uses advanced CAD/CAM software to model each component, applying empirical and algorithmic bend allowance formulas tailored to the specific material and machine setup. We account for variables such as grain direction, springback, and tool wear, ensuring that the flat pattern development is accurate before any metal is cut. Material-specific K-factors are applied to refine calculations, and all designs undergo internal DFM (Design for Manufacturability) review to preempt potential forming issues.
During prototyping, physical validation confirms the accuracy of calculated bend allowances. We produce initial samples using the same tooling and CNC press brakes intended for full-scale production. Each prototype is inspected using coordinate measuring machines (CMM) and laser measurement systems to verify dimensional conformance. Any deviation triggers an immediate recalibration of the bend deduction or K-factor, with updated data fed back into the design model. This closed-loop process ensures rapid iteration and eliminates cumulative errors before transitioning to mass production.
In mass production, consistency is maintained through strict process controls and real-time monitoring. CNC press brakes are programmed with validated bend sequences and tooling setups, while in-process inspections occur at defined intervals. Our quality management system adheres to ISO 9001 standards, with full traceability on material lots, machine settings, and inspection records. By standardizing bend allowance parameters across batches, we achieve repeatable precision and eliminate variation.
Our commitment to zero defects is reinforced by continuous training, preventive maintenance, and statistical process control (SPC). Every operator is certified on specific machine types and processes, ensuring adherence to best practices. The result is high-integrity sheet metal components that meet tight tolerances and perform reliably in demanding industrial applications.
Below are key specifications we maintain during the bending process:
| Parameter | Standard Range | Tolerance |
|---|---|---|
| Material Thickness | 0.5 mm – 6.0 mm | ±0.05 mm |
| Bend Radius | 0.5 mm – 5.0 mm (material-dependent) | ±0.1 mm |
| Angular Accuracy | 30° – 180° | ±0.5° |
| Dimensional Tolerance | Based on ISO 2768-m | ±0.2 mm (typical) |
| K-Factor Range | 0.3 – 0.5 (material & thickness) | Adjusted per validation |
| Springback Compensation | CNC auto-adjusted | Model-based correction |
Through rigorous engineering and disciplined execution, Wuxi Lead Precision Machinery delivers flawless sheet metal fabrication, where bend allowance is not an estimate—but a precisely controlled variable.
Why Choose Wuxi Lead Precision
Precision Engineering for Sheet Metal Bend Allowance: Partner with Lead Precision
In high-stakes sheet metal fabrication, miscalculating bend allowance compromises dimensional accuracy, assembly integrity, and production efficiency. Errors cascade into costly rework, delayed timelines, and compromised product performance. At Wuxi Lead Precision Machinery, we engineer solutions where theoretical calculations meet real-world precision. Our CNC bending cells—calibrated to ISO 2768-mK tolerances—leverage material-specific algorithms and in-process metrology to eliminate guesswork. We translate complex bend allowance variables—material grade, thickness, tooling geometry, and grain direction—into repeatable, first-article success. This is not estimation; it is deterministic manufacturing.
Our technical team collaborates with clients during design for manufacturability (DFM) reviews to validate bend deductions before tooling. We deploy finite element analysis (FEA) simulations for exotic alloys and tight-tolerance applications, ensuring K-factors align with your material certifications. Below are standard bend allowance parameters we rigorously control across common materials:
| Material Type | Thickness Range (mm) | Typical K-Factor | Bend Deduction (per 90°) |
|---|---|---|---|
| 6061-T6 Aluminum | 1.0 – 6.0 | 0.45 | 1.75 × Thickness |
| 304 Stainless Steel | 0.8 – 5.0 | 0.42 | 1.65 × Thickness |
| Mild Steel (SPCC) | 0.5 – 4.0 | 0.44 | 1.72 × Thickness |
| Brass (C260) | 1.0 – 3.0 | 0.46 | 1.78 × Thickness |
These values are dynamically adjusted using our CNC press brakes’ real-time feedback systems, compensating for springback and material variance. Unlike generic calculators, our process integrates empirical data from 12,000+ annual production bends, ensuring your flat patterns yield perfect formed parts—every time.
Partnering with Wuxi Lead Precision Machinery means accessing China’s manufacturing scale without sacrificing German-level precision. Our facility in Wuxi operates 32 state-of-the-art Amada and Trumpf bending centers, all maintained to <±0.05mm positional accuracy. We serve aerospace, medical, and semiconductor clients who demand zero-defect supply chains—and we deliver through three pillars: material traceability to batch level, SPC-monitored bending sequences, and AS9100-compliant documentation. When your project requires bend allowances held to ±0.1mm, our engineers become your force multiplier.
Do not let bend miscalculations erode your competitiveness. Contact our technical sales team to request a bend allowance validation for your next project. Email [email protected] with your material specifications, part geometry, and target tolerances. We will provide a detailed process plan—including FEA reports and first-article inspection data—within 48 hours. For urgent RFQs, include “BEND URGENT” in the subject line. Let Lead Precision transform your sheet metal challenges into precision-engineered outcomes.
Wuxi Lead Precision Machinery: Where Calculations Become Certainty.
⚙️ Precision Cost Estimator
Estimate relative manufacturing effort based on tolerance.

